Tutorial 1: Building Your First Web Application Project
The below tutorial walks-through how to create, build and run your first web app using VB and
the ASP.NET Web Application Project support in VS 2005.
Creating a New Project
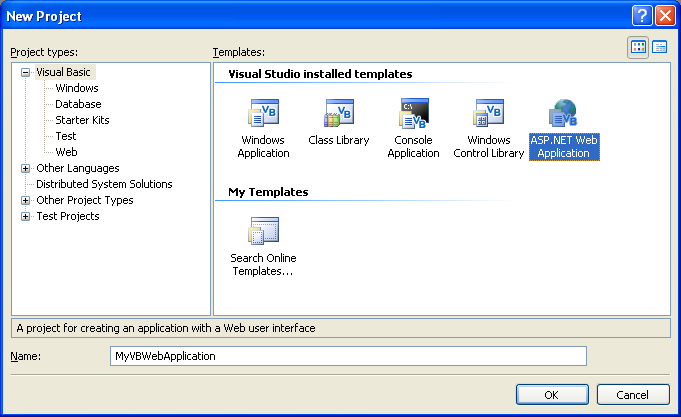
Select File->New Project within the Visual Studio 2005 IDE. This will bring up the New
Project dialog. Click on the “Visual Basic” node in the tree-view on the left hand side of
the dialog box and choose the "ASP.NET Web Application" icon:
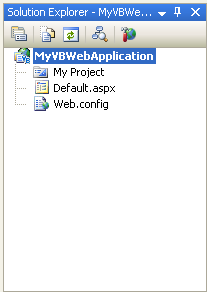
Visual Studio will then create and open a new web project within the solution explorer. By
default it will have a single page (Default.aspx) as well as a web.config file. All project
file-meta-data is stored within a MSBuild based project file.
Opening and Editing the Page
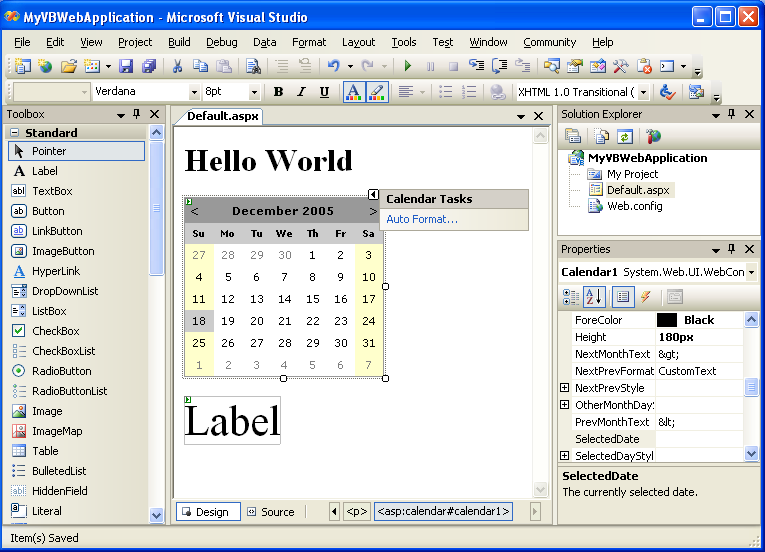
Double click on the Default.aspx page in the solution explorer to open and edit the page. You
can do this using either the HTML source editor or the design-view. Add a "Hello world" header to
the page, along with a calendar server control and a label control (we'll use these in a later
tutorial):
Build and Run the Project
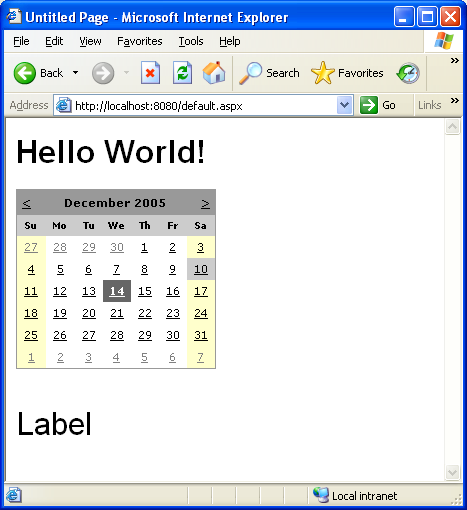
Hit F5 to build and run the project in debug mode. By default, ASP.NET Web Application projects
are configured to use the built-in VS web-server (aka Cassini) when run. The default project templates
will run on a random port as a root site (example: http://localhost:12345/):
You can end the debug session by closing the browser window, or by choosing the
Debug->Stop Debugging (Shift-F5) menu item.
Looking under the covers
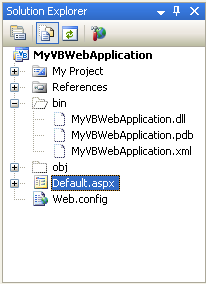
When you compile/build ASP.NET Web Application projects, all code-behind code, embedded resources,
and standalone class files are compiled into a single assembly that is built in the \bin sub-directory
underneath the project root (note: you can optionally change the location if you want to - for example,
to build it into a parent application directory).
If you choose the "Show All Files" button in the solution explorer, you can see what the result
of our compilation output looks like:
This works exactly the same as with Visual Studio 2003 ASP.NET Web Application Projects
Customizing Project Properties
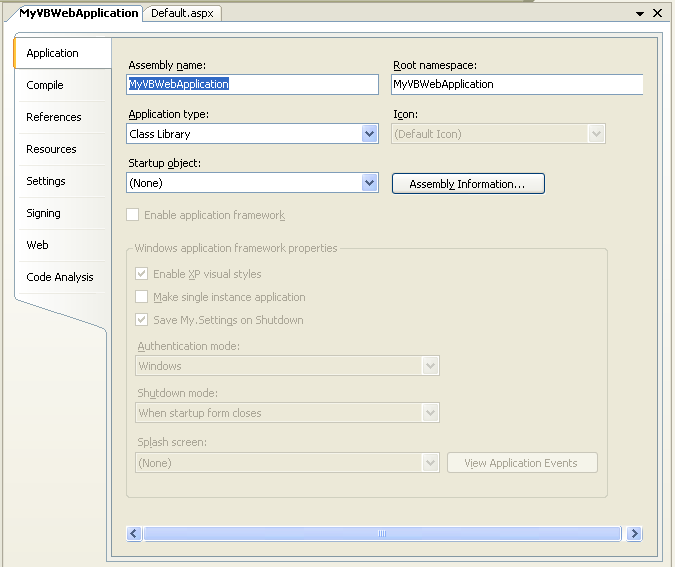
ASP.NET Web Application Projects share the same configuration settings and behaviors as
standard VS 2005 class library projects. You access these configuration settings by double-clicking
on the "My Project" node in the Solution Explorer with VB projects in VS 2005. This will then bring up
the project properties configuration editor. You can use this to change the name of the generated assembly,
the build compilation settings of the project, its references, its resource
string values, code-signing settings, etc:
ASP.NET Web Application Projects also add a new tab called "Web" to the project properties list.
Developers use this tab to configure how a web project is run and debugged. By default, ASP.NET Web
Application Projects are configured to launch and run using the built-in VS Web Server (aka Cassini)
on a random port of the machine.
This port number can be changed if this port is already in use, or
if you want to specifically test and run using a different number:
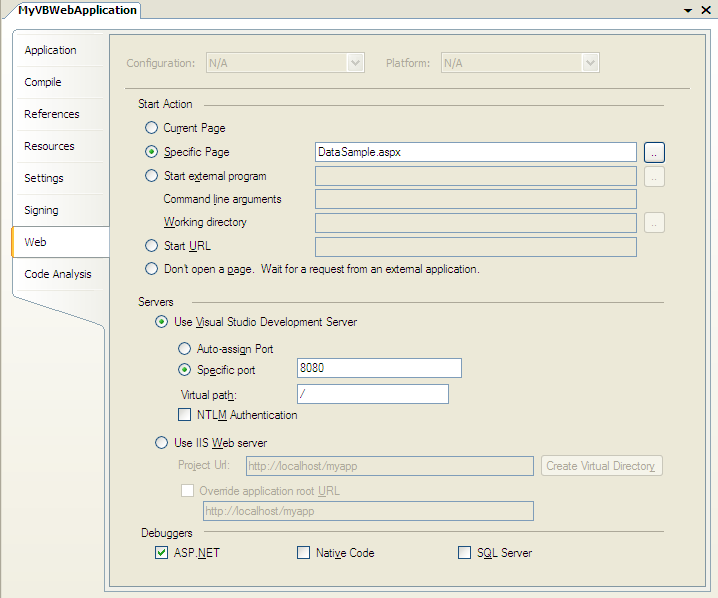
Alternatively, Visual Studio can connect and debug IIS when running the web application. To use
IIS instead, select the "Use IIS Web Server" option and enter the url of the application to launch,
connect-to, and use when F5 or Control-F5 is selected:

Then configure the url to this application in
the above property page for the web project. When you hit F5 in the project, Visual
Studio will then launch a browser to that web application and automatically attach a debugger to the
web-server process to enable you to debug it.
Note that ASP.NET Web Application Projects can also create the IIS vroot and configure the application
for you. To do this click the "Create Virtual Directory" button.
Click here to go to the next tutorial.