Tutorial 3: Building Pages with VS 2005 Web Application Projects
The below tutorial demonstrates how to build ASP.NET Pages within VS 2005 Web
Application Projects. Please make sure that you have already completed
Tutorial 2:
Understanding Code-Behind with VS 2005 Web Application Projects before reviewing this one.
Coding against controls in our Default.aspx page
In the first Hello World Tutorial
we edited the Default.aspx page that is added automatically when we create a new VS 2005 Web
Application project.
Specifically we added an <asp:calendar> and
<asp:label> control to the page:
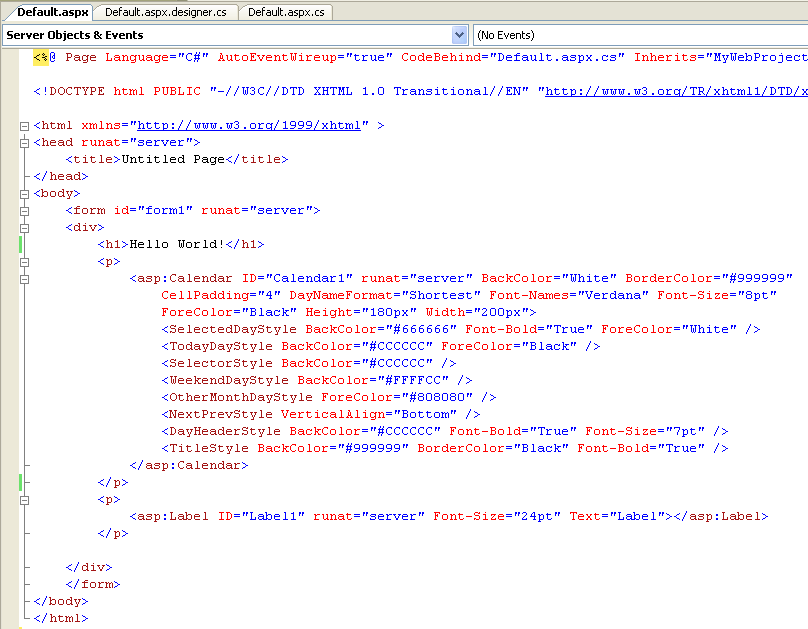
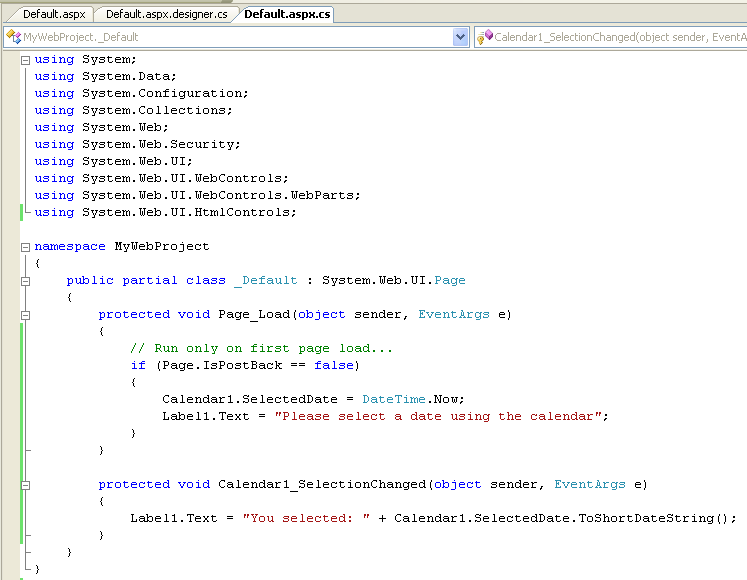
You can then program against these controls using your event-handlers within the code-behind
file. For example:
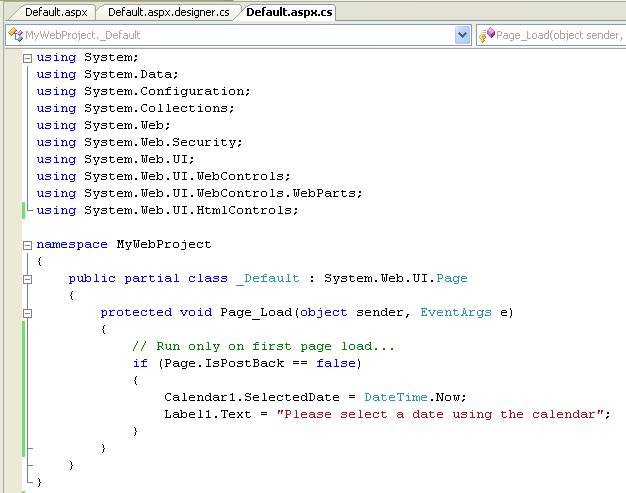
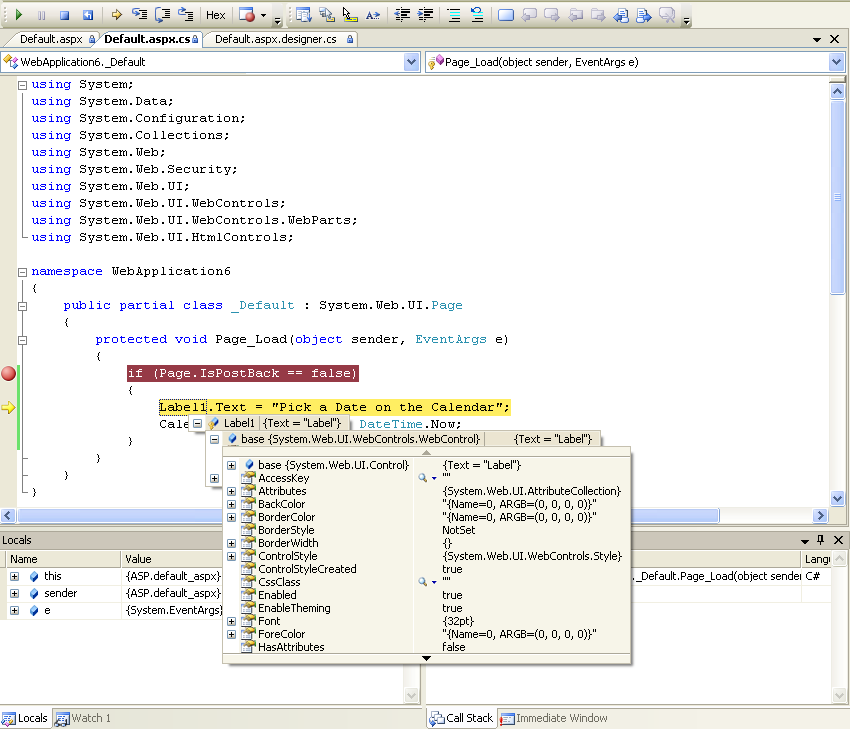
You can then set a breakpoint (press the F9 key on the line to set it on), and then hit F5 to
compile, run and debug the page:
Handling server events from controls in our .aspx page
To handle a server event from a control on your page, you can either manually add
an event-handler to the control yourself (by overridng the OnInit method in your
code-behind class and adding the event delegate there), or by using the WYSIWYG
designer to generate an event handler.
To use the WYSIWYG designer, click on the "design" tab of the .aspx page to bring
up the design-surface. If you want to add the "default" event for the control,
you can simply double-click on the control to generate an event handler for it (this
is useful for things like buttons, etc). Alternatively, you can select the
control on the design-surface and click on the "events" tab of the property-grid.
This will then list the events that are available to handle:
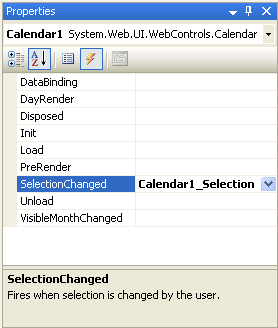
You can double-click on any of the events to automatically add a default named event
handler. Alternatively, you can type the name of the event handler you wish
to generate.
You can then add whatever code you want within the code-behind file:
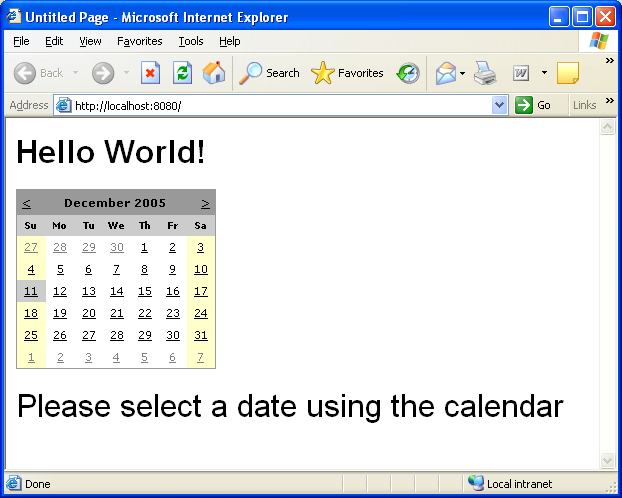
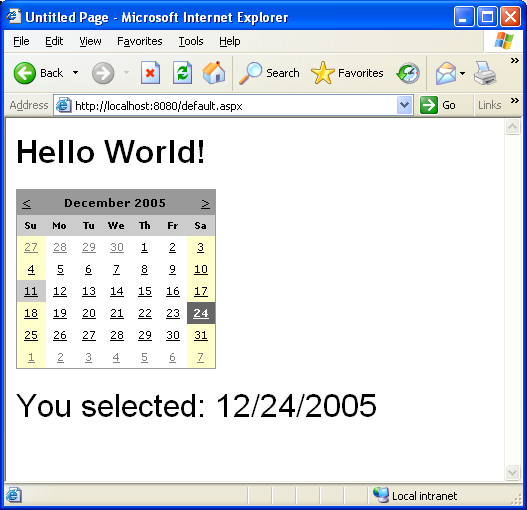
Press F5 (or Ctrl-F5) to build and run the project. Now, when a user selects a date in the
calendar, the selected date will be output using the Label control:
Click here to go to the next tutorial.